Press-on nails are an easy, affordable way to get salon-worthy nails without leaving your home. Whether you're super busy, on a budget, or just like experimenting with different looks, press-ons are a game-changer. In this guide, we’ll cover everything you need to know to get started, from picking the right set to tips for a long-lasting application.
Why Go for Press-On Nails?
There are some solid reasons why press-on nails are becoming so popular.
- They're Budget-Friendly - Going to a salon can get expensive fast. Press-on nails are a one-time purchase that costs a fraction of a salon manicure, and they’re reusable. You can switch up your style without breaking the bank.
- Quick and Easy to Apply - You don’t need to spend hours at a salon. Press-on nails can be applied in just a few minutes, making them a time-saver for busy people.
- Easy Removal - No harsh chemicals like acetone are involved. When you’re ready to take them off, press-on nails come off easily without damaging your natural nails.
- Tons of Options - From simple styles to bold designs, you’ll find something for every occasion. Plus, some brands even offer customizable press-ons if you want to get a little creative.
- Less Damage to Natural Nails - Since you don’t need to file or glue them on permanently, press-ons are easier on your natural nails compared to acrylics or gels.
Picking the Right Press-On Nails
Choosing the right set of nails can make a big difference. Here’s what to keep in mind:
- Size - Most press-on kits come in different sizes to fit various nail beds. Pick the ones that fit your natural nails without hanging over the edges. If needed, file them to make sure they’re a perfect fit.
- Shape and Length - There are different shapes, such as square, almond, stiletto, and coffin. And the length? Totally up to you! If you’re working with your hands a lot, short nails might be better. If you're after drama, go for long.
- Style - You can go for bold and colorful or keep it simple with a more neutral look. Some kits come with basic nails that you can paint however you like, giving you full creative control.
How to Apply Press-On Nails
Getting the perfect press-on manicure starts with prep work and following these simple steps:
Step 1: Prep Your Nails
- Wash your hands and make sure your nails are clean.
- Remove any old polish or residue.
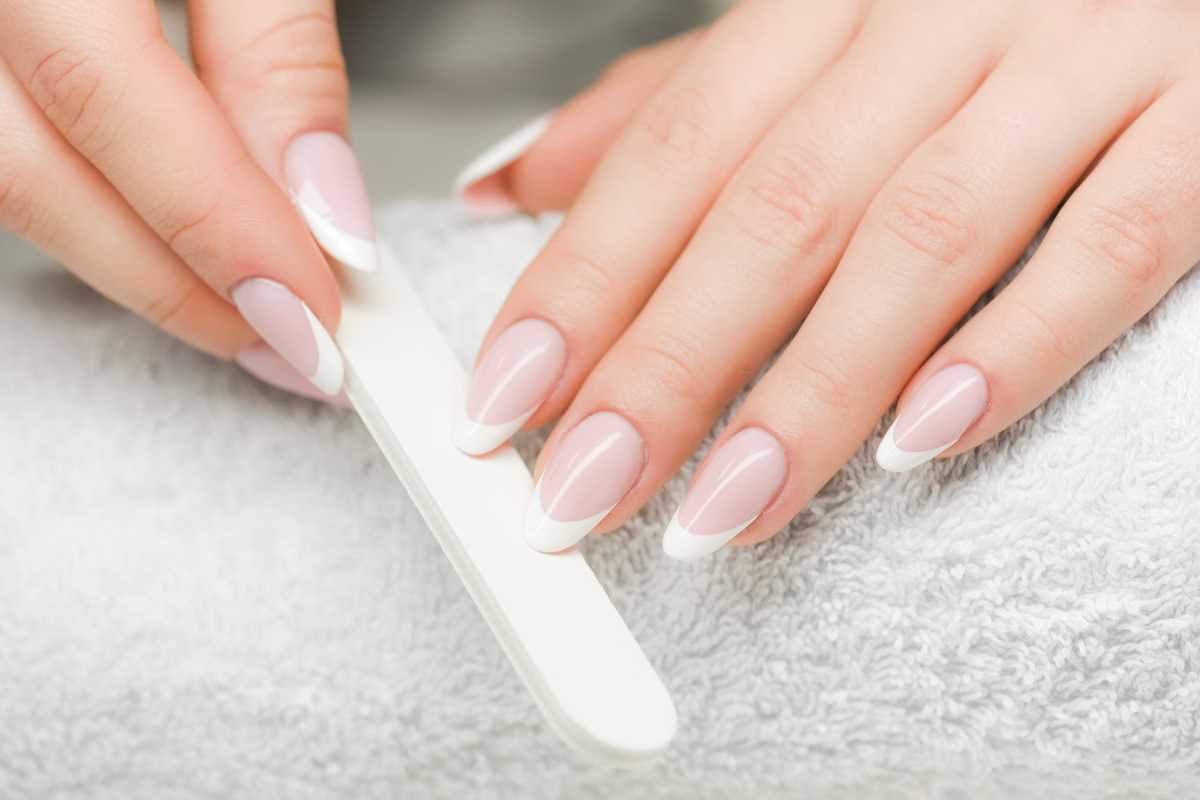
- Gently push your cuticles back and file your nails into the shape you want.
Step 2: Buff and Clean
- Lightly buff the surface of your nails to help the press-ons stick better.
- Wipe your nails with rubbing alcohol to remove any oils.
Step 3: Choose the Right Press-Ons
- Lay out your press-on nails and match each one to the correct finger. This step helps you stay organized and speeds up the process.
Step 4: Apply Adhesive
- If you're using adhesive tabs, apply them to your nails and peel off the backing before pressing the press-on on.
- If you're using glue, put a small amount on both your natural nail and the press-on, then press it down for 30 seconds.
Step 5: Press and Hold
- After pressing down, hold each nail for a few more seconds to make sure it sticks properly.
How to Make Them Last
To keep your press-on nails looking fresh for as long as possible, try these tips:
- Wait Before Getting Them Wet - Give the adhesive at least an hour to fully set before exposing your nails to water.
- Wear Gloves for Chores - When doing anything that involves water or harsh chemicals (like cleaning), put on gloves to protect your nails.
- Fix Lifting Nails - If you notice a nail starting to lift, you can apply more adhesive to keep it secure.
- Be Careful - Treat press-on nails like natural nails. Don’t use them as tools for opening things or scraping surfaces.
How to Remove Press-On Nails
When you’re ready to take your press-ons off, here’s how to do it safely:
Step 1: Soak in Warm Water
Soak your nails in warm, soapy water for 10-15 minutes to loosen the adhesive.
Step 2: Gently Pry Them Off
Use a cuticle stick or another soft tool to gently lift the edges of the press-ons. If they’re not coming off easily, soak them a little longer.
Step 3: Clean and Moisturize
Once they’re off, clean your nails and give them some TLC. Apply cuticle oil or moisturizer to keep your nails in good condition.
Taking Care of Your Natural Nails
Even though press-ons are gentle compared to other artificial nails, it’s still important to take care of your natural nails. Here’s how:
- Take Breaks - Give your nails a rest between press-on applications to keep them strong.
- Keep Them Hydrated - Use cuticle oil regularly to keep your nails and cuticles moisturized.
- Try Nail Strengtheners - If your nails are prone to breaking, try using a nail strengthener to help them grow healthy and strong.
Mistakes to Avoid
To get the best results with your press-ons, steer clear of these common mistakes:
- Skipping Prep - Always make sure your nails are prepped properly before applying press-ons. This will help the nails stay in place longer.
- Using Too Much Glue - A little goes a long way. Using too much glue can create a mess and make removal more difficult.
- Not Choosing the Right Size - Make sure each press-on fits your nail well. A poorly-fitting nail can lift or cause discomfort.
Final Thoughts on Press-On Nails
Press-on nails are a great way to get stylish, salon-quality nails without a lot of effort. Whether you’re looking for something simple or something a bit bolder, they make it easy to change up your look. Follow these steps for a long-lasting application, and remember to treat your nails with care so they stay healthy. Enjoy your new press-on nails!
 (Image via


